Have you ever pulled into your driveway only to find that your garage door remote control is not working? It is frustrating, right? We have all been there. Here at Titan Garage Doors Lincoln NE, we are glad to let you know that programming your garage remote control is easier than you might think. In this guide, we will walk you through simple steps to get those remote controls working smoothly. Whether you have just bought a new remote or need to reprogram an old one, we have got you covered. So, let us dive in and make sure your mornings start stress-free with a perfectly functioning garage door remote control.
Understanding Your Garage Door Remote Control
Your garage door remote control is a small but mighty device that makes life so much easier. With just a click, you can open and close your garage door without stepping out of your car.
Different Types of Garage Door Remotes
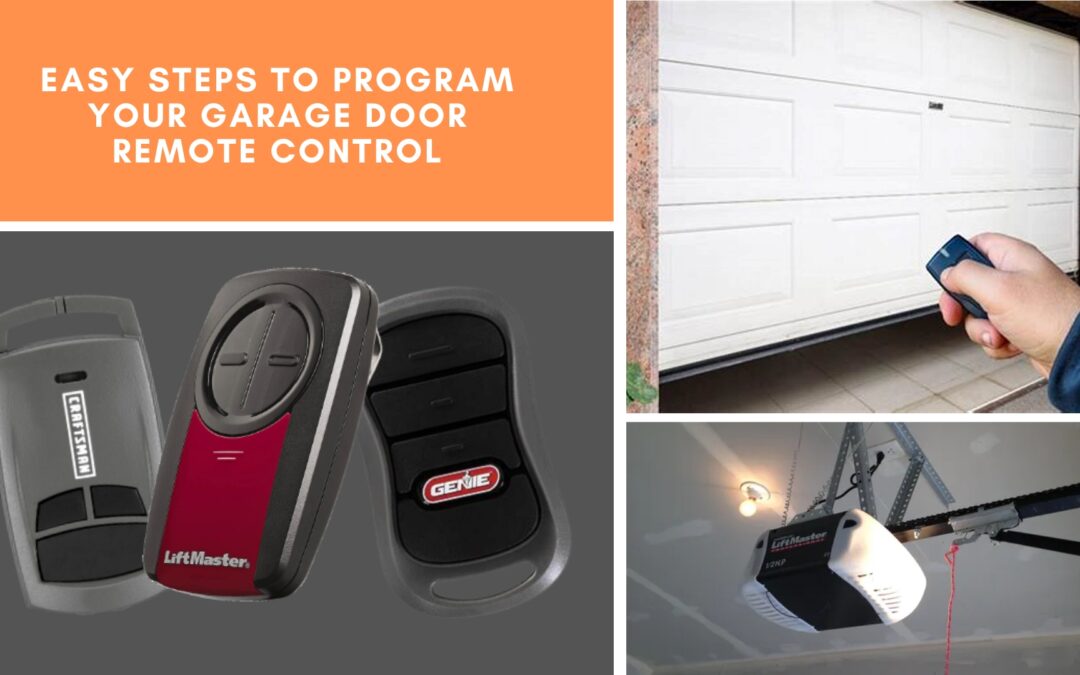
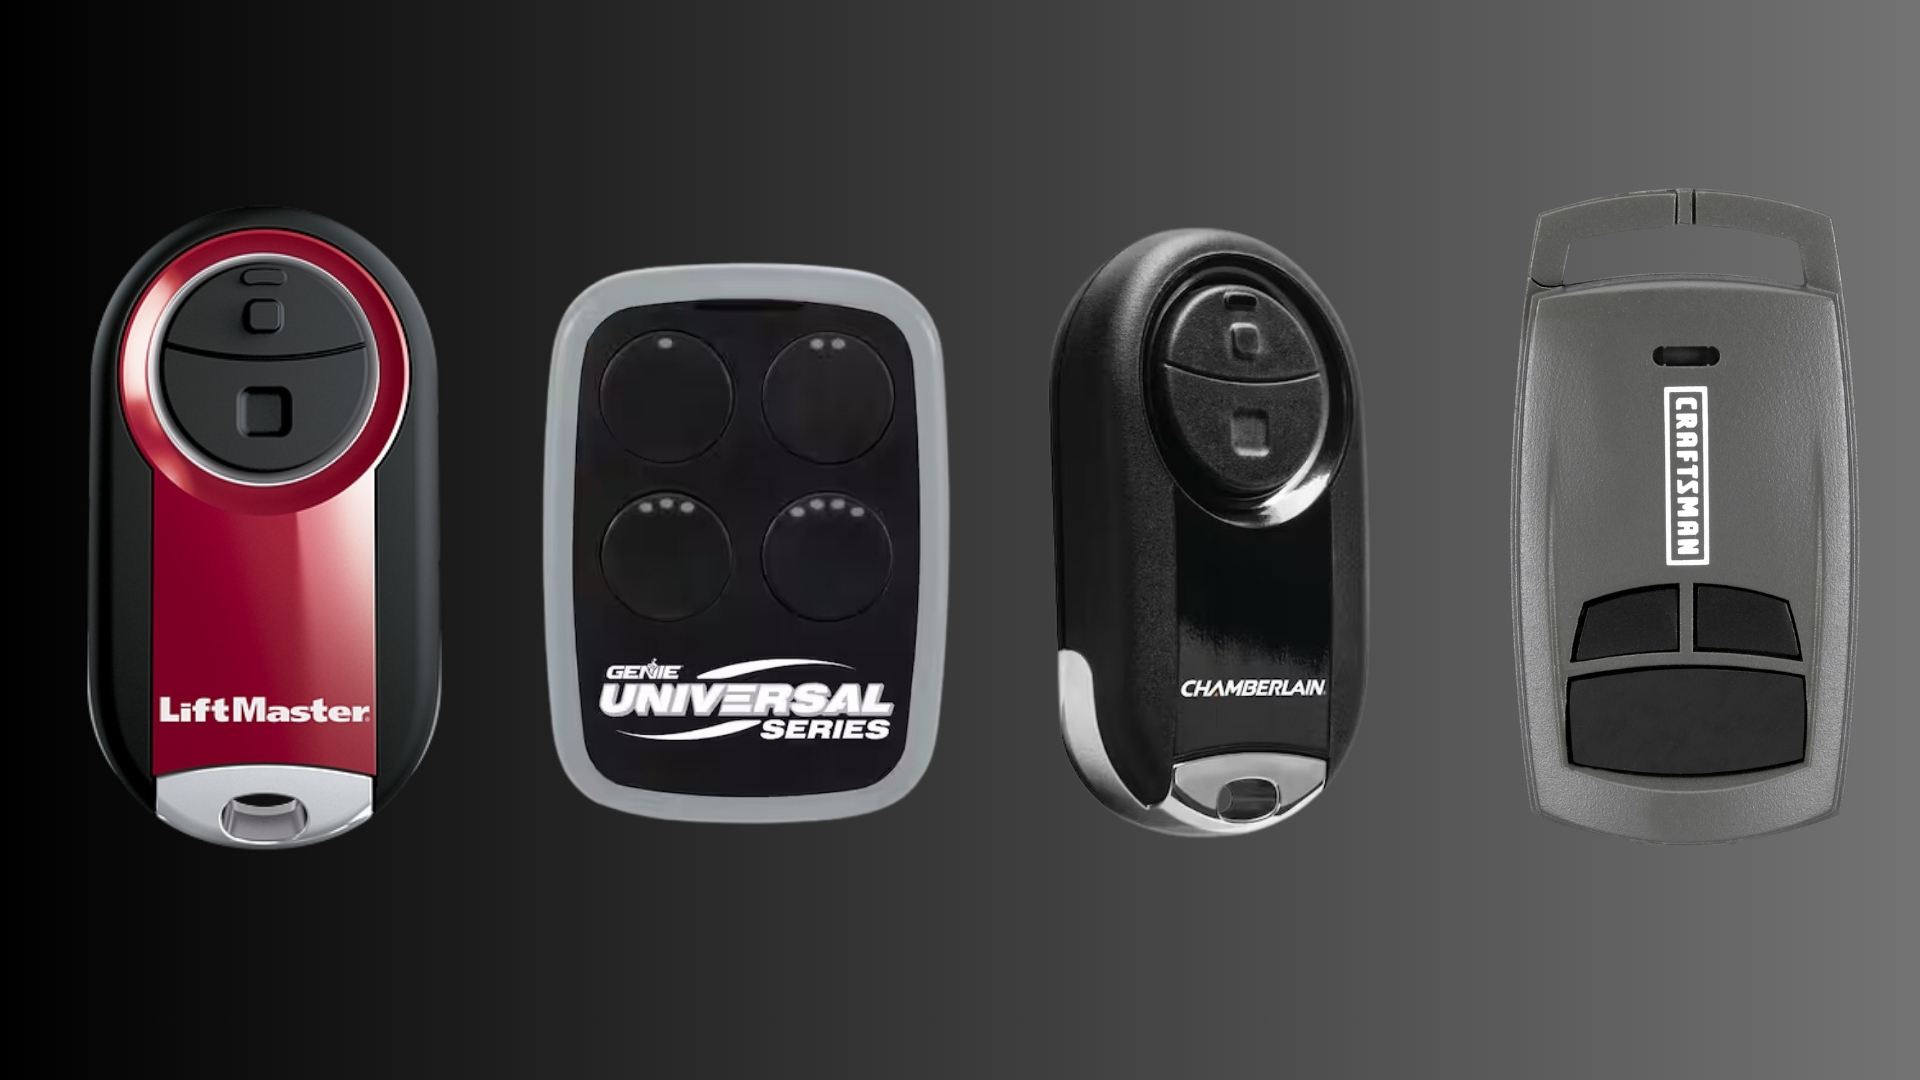
- Universal Garage Remote Control: These remotes work with most garage door openers, regardless of the brand. If you have multiple garage doors or even gates, a universal remote can control them all.
- Brand-Specific Remotes: These remote controls work with a specific brand of garage door opener. If you know the brand of your garage opener, you might prefer using a remote made just for it.
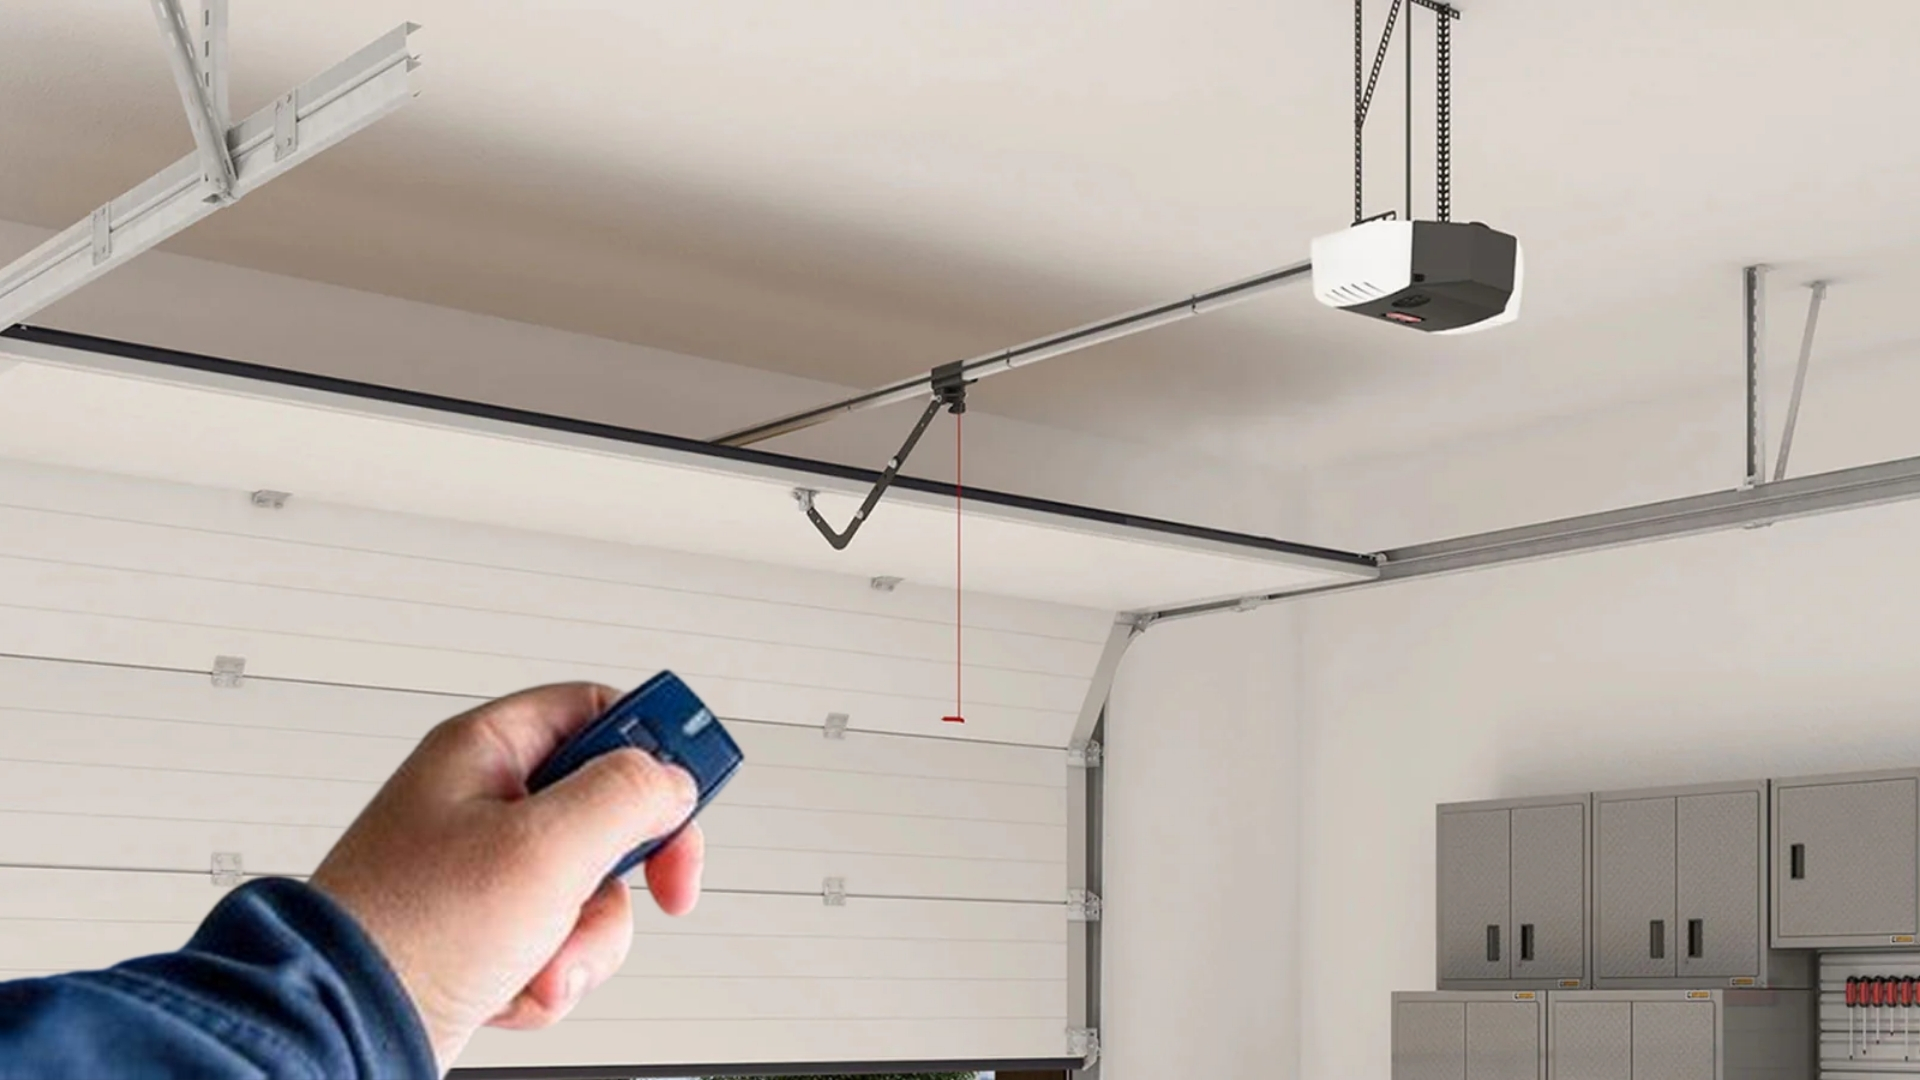
So, how does a garage door remote control actually work? It is all about signal transmission. Inside the remote, there is a tiny radio transmitter. When you press the button, it sends a unique code to the receiver in the garage door opener. If the code matches, the opener activates and moves the garage door.
Get Ready: Gather Information and Tools for Programming
Before you start programming your garage door remote control, you need to gather a few key pieces of information and some simple tools.
Identify Your Garage Door Opener Model
First, you need to figure out what garage door opener model you have. This information is important because the steps for programming can be different for each model. On the back or side of the garage door opener, there should be a sticker with the model number and other important information.
Gather Required Tools
Next, gather the tools you will need. Fortunately, you would not need much—just a few basic items you probably already have around the house. You will need a ladder to reach the garage door opener unit mounted on the ceiling. Have a screwdriver at hand because some openers have covers you will need to remove to access the learn button.
Locate the Learn Button
Now, if you have a Chamberlain or LiftMaster, you need to find the learn button on your garage door opener. This button is the key to programming your remote control. Most garage door openers have a button on the side or back of the unit. It might be under a light cover or a small panel that you need to open. However, this button can be in different colors, like red, yellow, green, or purple. The color helps determine the programming steps, so make a note of it.
How to Program Your Garage Door Remote Control
Now that you have all the basic information and tools, it is time to program your garage door remote control. Just follow these easy steps, and your remote will be up and running in no time:
Step 1: Prepare the Remote Control
Start by preparing your remote control. This step ensures everything is ready for programming.
- Check the Batteries: Make sure your remote has fresh batteries. Weak batteries can mess up the programming process.
- Read the Manual: If you have the manual for your remote or garage door opener, give it a quick read. It might have specific instructions for your model.
Step 2: Access the Garage Door Opener
Next, you need to access your garage door opener unit.
- Use a Ladder: Set up the ladder carefully so you can reach the opener, which is normally on the ceiling.
- Remove Any Covers: If your opener has a light cover or panel over the learn button, use a screwdriver to remove it.
Step 3: Press the Learn Button
Now, it is time to press the learn button on your garage door opener. Press and release the learn button. Before the opener exits learning mode, you will usually have about 30 seconds to finish the next step.
Step 4: Sync the Remote
With the learn button pressed, it is time to sync your remote control.
- Press the Remote Button: Press and hold the button on the remote control that you want to program. Hold it for about three seconds.
- Watch for the Light: Look for a light on the garage door opener to flash, or listen for a click sound that signals you properly synced the remote.
Step 5: Test the Remote
Finally, test your remote control to make sure it works properly this time.
- Try Opening and Closing: First, press the button on your remote to see if the garage door opens and closes smoothly.
- Repeat if Necessary: If the door does not respond, repeat the steps above. Sometimes, it takes a couple of tries to get the timing just right.
By following these steps, you will have your garage door remote control programmed and ready to use. After setting up your remote, let us move on to troubleshooting any issues that might come up.
Troubleshooting Common Remote Control Programming Issues
Even with the best instructions, sometimes things do not go as planned. Here are some common issues and how to fix them:
Remote Not Working
Does your garage door remote control not work after programming? Sometimes, this process needs a second try. Follow the steps again, pressing the learn button and the remote button correctly. Remember to stand close to the garage door opener when programming the remote. At times, distance may affect the signal, too.
Interference Problems
Note that your garage door remote control might not work right occasionally if it is near other devices. Ensure there are no large metal objects or electronic devices between your remote and the garage door opener. Some garage door opener models allow you to change the frequency to avoid interference. So, check your manual to see if this is an option.
Reprogramming After a Power Outage
You might need to reprogram your garage door remote control if it stops working after the power goes out. Sometimes, a power outage can reset your garage door opener. Follow the programming steps to sync your remote again. Yet, make sure that the power outage did not damage any parts of the garage door opener.
Remote Buttons Not Responding
If the buttons on your garage door remote control are not responding, try cleaning them with a soft cloth. Dirt and debris can cause buttons to stick. Some buttons on an old remote may not work anymore. So why not consider a garage door remote replacement if it is not functioning right?
Seek Professional Help
Is your garage door remote still not working as it should be? It might be time to call in the pros. A garage door technician can find and fix problems that are too complicated for you to handle. With the right tools and know-how, these experts will get things working before long.
Garage Door Repair Near Me
Ready to program your garage door remote control? Titan Garage Doors Lincoln NE is here to help! We offer emergency garage door services and opener repair in Lincoln and neighboring cities. Plus, with our flexible preferred payment option, you can get the service you need now and pay over time. So, do not let a faulty remote slow you down. Contact us today and enjoy a smoothly operating garage door right away.

