
The average garage doors open and close over a thousand times per year. Like any complex machinery, your garage door needs routine maintenance to keep it running like new. Thus, regular maintenance will inform you of any overlooked issues requiring care. Fortunately, easy garage door tune-up requires no particular expertise and takes no more than 30 minutes to complete. In fact, you can get any tools and materials needed for DIY garage door maintenance at home centers and garage door dealers. Here is what you need to do to ensure your garage door runs smoothly.
A Step-By-Step Guide for a Garage Door Tune-up
Step 1: Tighten the Nuts and Bolts
Open the door halfway, then disengage and close it manually. With wrenches, loosen the nuts on the turnbuckle and crank it counter-clockwise until the slack is gone. The chain or belt should be at least 1/4 inch from the bottom of the rail. Tighten the bolts and manually open the door to engage the carriage to the turnbuckle.
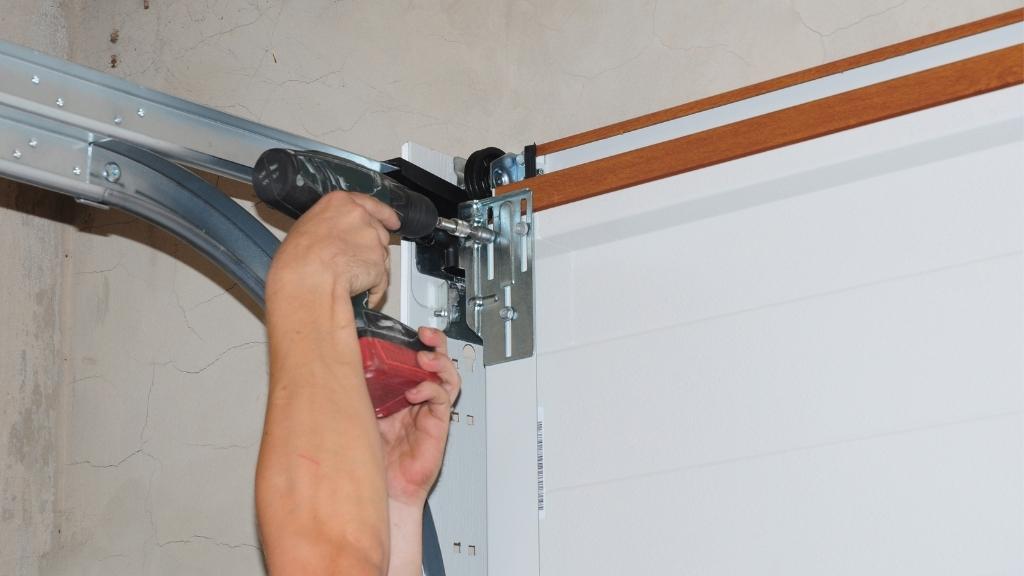
Step 2: Check the Garage Door Hardware
First, examine all the hinges on the door. Lubricate them and double-check that everything is in place. Next, use a carburetor or brake cleaner to clean the tracks. Be careful when applying lubricant to the track because it may cause the door to slip and become imbalanced. Finally, ensure that all door hinges and track hardware are securely fastened.
Step 3: Test the Photo-Eye Sensor
The sensors are properly aligned when each light on both units is solid. Meanwhile, flashing or blinking lights mean they are out of alignment. While the door is closing, disrupt the beam between the sensors by waving a mop or broom through it. The door should reverse immediately. If it does not, use a moist cleaning cloth or cotton swab to wipe the sensors and repeat the test.
Step 4: Test the Safety Reversal System
With the door fully open, put an item (such as a box or wooden board) at the center of the floor under the garage door opening. Now, try to close the door. It must reverse upon contact with the obstruction. If it does not, increase the opener’s down force limit according to the manual and repeat the test. Hence, call for professional garage door service if the door will not reverse after multiple adjustments.
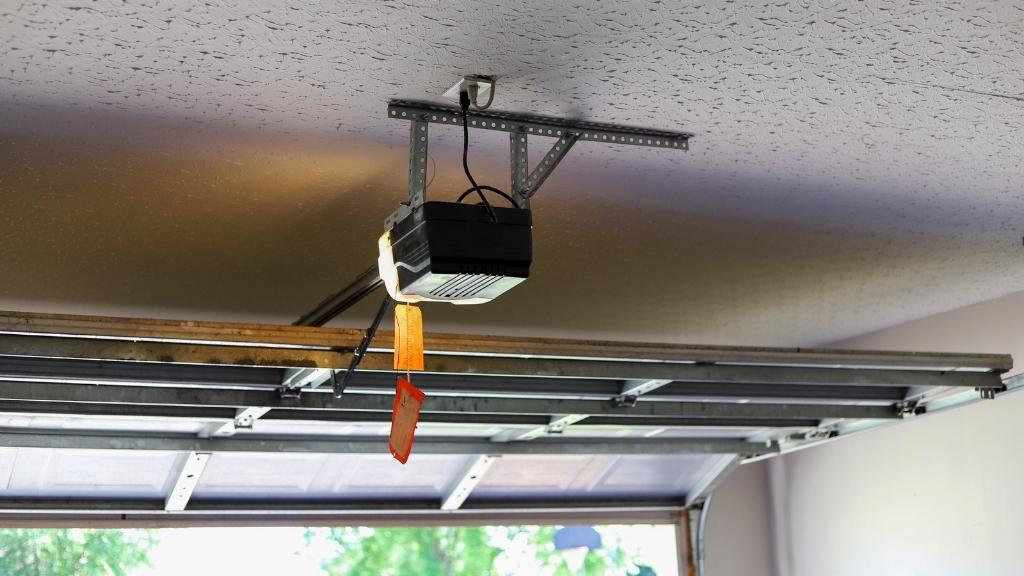
Step 5: Replace Batteries and Light Bulbs
Make sure your garage door opener’s backup battery is operational, and replace it with a new one if needed. Replace the batteries in your remote controls as well. Consult the manual to determine which type to get. Finally, replace the light bulbs with one recommended by the manufacturer.
Step 6: Test the Garage Door Balance
Close the door and pull the release cord to disengage the carriage from the chain or belt. Manually open the door about halfway up. Your door is in balance if it stays in place. And if it does not, it is out of balance, and you will need to get in touch with a service technician to fix it. Pull the release cord and move the carriage toward the opener to re-engage it.
Do Not Make Any Adjustments to the Torsion Spring
There are some maintenance procedures that professionals should only do, like a garage door tune-up. Another example is spring adjustment. Never adjust the torsion spring on your own, and do not touch any red bolt painted red (a technician can only adjust these). For reference, you can find a list of recommended monthly testing in most manuals. However, it is always best to consult your garage door manufacturer’s instructions for maintenance details.
Garage Door Maintenance Near Me
At Titan Garage Doors Lincoln NE, we offer services to ensure your garage door is always in top condition, including garage door tune-up, garage door repair, and garage door installation. We also provide free estimates on all garage doors Omaha services so you can get the best possible value for your money. We are a locally owned business serving the greater Omaha area and surrounding locations, including Lincoln, Papillion, Bellevue, NE, and Council Bluffs, Iowa. Reach us at (402) 576-5771 for more details.